

Here’s everything that I worked on this week!
From our priority list last week…
Style Blog and Portofolio PagesLinks in content (Tutorials, Guides, Discussion Posts, etc.)Proofread + Edit Posts and Pieces“You might be interested…” links in portfolioAdd a preview box for Resource HubAdd Photos to Blog Week1 post
Make pages responsiveImages in blogposts and portfolio
- Create/Update content
- Visual Design for Educators
- Flesh out the content more
- Finish storyboarding, wireframes, and mockups
- More Resources
- Update Resume to new draft
- Visual Design for Educators
- Refactor Code
- JavaScript + TypeScript Basics
For later:
- Add testimonial
- Learn Figma Shortcuts
- Web Accessibility
- Blog Post Preview Image
Posts appear in reverse order on blog page- Search bar for blog
- Search by tag, title, date
Styled Blog and Portfolio Pages
This week, I changed all of my markdown posts to .mdx in order to gain access to the <Image> component in Astro. Having access to the <Image> compenent allowed me to input photos into my blog post and assign a class to them so that I could style them in my Astro layout. I did a little bit of research on how to make this more efficient, as this took a LONG time to go back in and import every single photo I wanted to use, but most of the solutions went over my head.
For this reason, I decided to change the priority of my tasks from last week so that learning more about JavaScript and TypeScript was higher. I’m hoping that this allows me to understand documentation better, make it easier to refactor my site, and to include interactive elements in the future. For example, instead of using a pdf viewer on the page, (Formative and Summative Assessments Example)[https://matthewleepugh.com/pieces/piece2/], I would rather use a carosel that allows the user to click on the slides. Another example is to have a hamburger bar in the header for mobile screens.
Added Responsive Design to Pages
I used Wix’s post, (How to make a responsive website in 4 steps)[https://www.wix.com/blog/how-to-make-a-responsive-website#viewer-qc48p426], as a guide to making all of my pages responsive.
Like in previous weeks, I started with a mockup. I created a mobile and tablet mockup for each page.
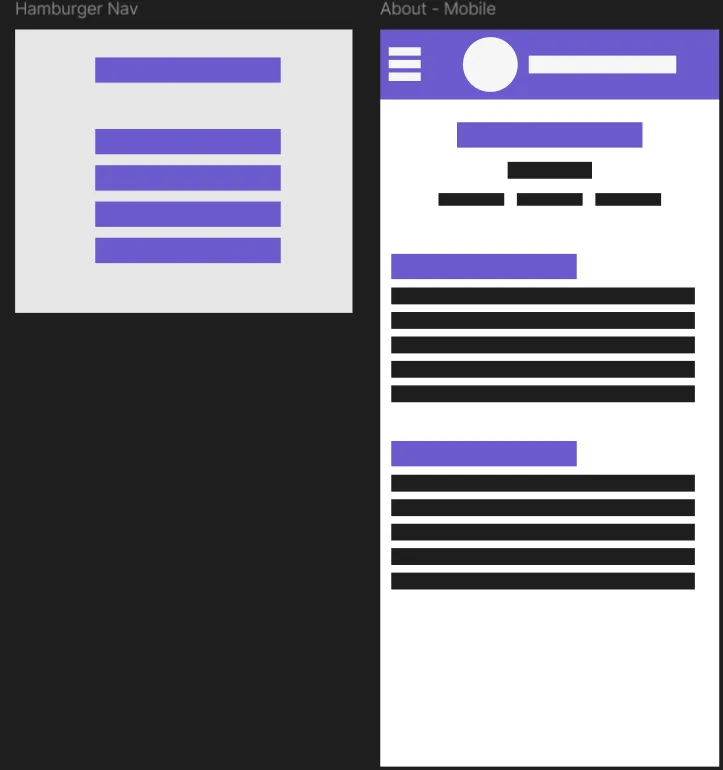
Mobile mockup for the about page
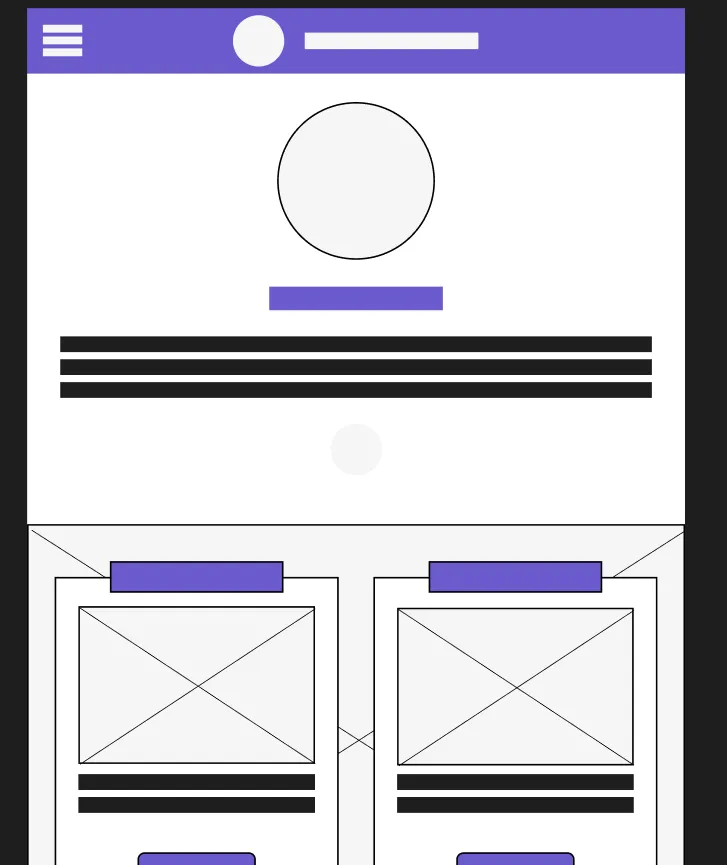
Tablet mockup for the home page
I then decided on my breakpoints for each page. I settled on 3 (1,001+px, 1000 - 751px, and 750 - 350px) which were the default ones that Wix has in place for their sites.
From there, I went in and added media queries for each breakpoint and added the appropriate styling.
What’s Next
- Create/Update Content
- Visual Design for Educators
- Shrink Scope
- Flesh out content more
- Finish storyboarding, wireframes, and mockups
- Add Needs assessments
- Add Kanban board screenshots
- Add action map
- More Resources
- Update Resume
- Add testimonial to homepage
- Visual Design for Educators
- JavaScript + TypeScript Basics
- Build Interactive Features
- Hamburger bar
- “Jump to” component for portfolio pages
- Carousel on Formative and Summative Assessments page
- Migrate content to content collection
- Blog Post Preview Image
- Add buttons to portfolio and blog pages
- Add return to top button on mobile
- Search bar for blog (tag, title, date)
- Refactor Code
- Web Accessibility
For later:
- Fix known bugs
- CSS stylings not working on ipad 3rd gen on safari (more testing needed)
- Boxes on homepage are too short on mobile landscape
- Need same height for preview boxes on Blog
- Overflow-y cutting off content on mobile
- Images + Preview text are scolling on mobile (chrome Iphone X and chrome browser width: 638 and height: 2206)
- Google Search Console
- Style updates
- Fonts and font sizes on different screens
- Images in blogpost and portfolio
- Add and center captions
- Learn Figma Shortcuts