

Here’s everything that I worked on this week!
From our priority list last week…
Add Content to PortfolioAdd Content to Resource Hub- Style
About, Contact Me, Blog, and Portfolio Pages - Make Pages Responsive
- Code Refactoring
For later:
- Add Photos to Blog post
- Add links to Astro, Devlin Peck’s tutorial to post
- Figma Shortcuts
Added Content to Portfolio and Resouce Hub
This week I added a project writeup and pictures for an eLearning course called Visual Design for Educators that I am working on. During this process, I learned how to add images and links in Markdown.

However, I still need to go back into the portfolio pieces and add links to the tutorials I used and resize the images responsively.
I also included a pdf of assessments that I wrote for a previous client. Out of respect for the client, I made it so the PDF could not be downloaded. To do this, I used the <iframe> tag in HTML and added #toolbar=0 to the end of the pdf link. This stops the user toolbar from appearing.

To style the viewer, I used the CSS property, transform, to rotate the viewer 90 degrees to make it easier to view the horizontal slides. This caused some problems as the slider starts at the end of the examples, not at the beginning. I’m also using negative margins to place it on the page and I am unsure whether or not that is considered best practice.
In the resource hub, I added a student worksheet that is a shorter version of an activity I created while I was student teaching. The activity is for young clarinet players that need practice fingering in the lower chalumeau register. I made it in Canva using graphics I created myself (the music notes and staff) and stock graphics available on Canva (clef and end bar line). In the future, I want the link to the PDF to be more like a product box that has a preview picture and a lot more information about what is available.
Styled About and Contact Pages
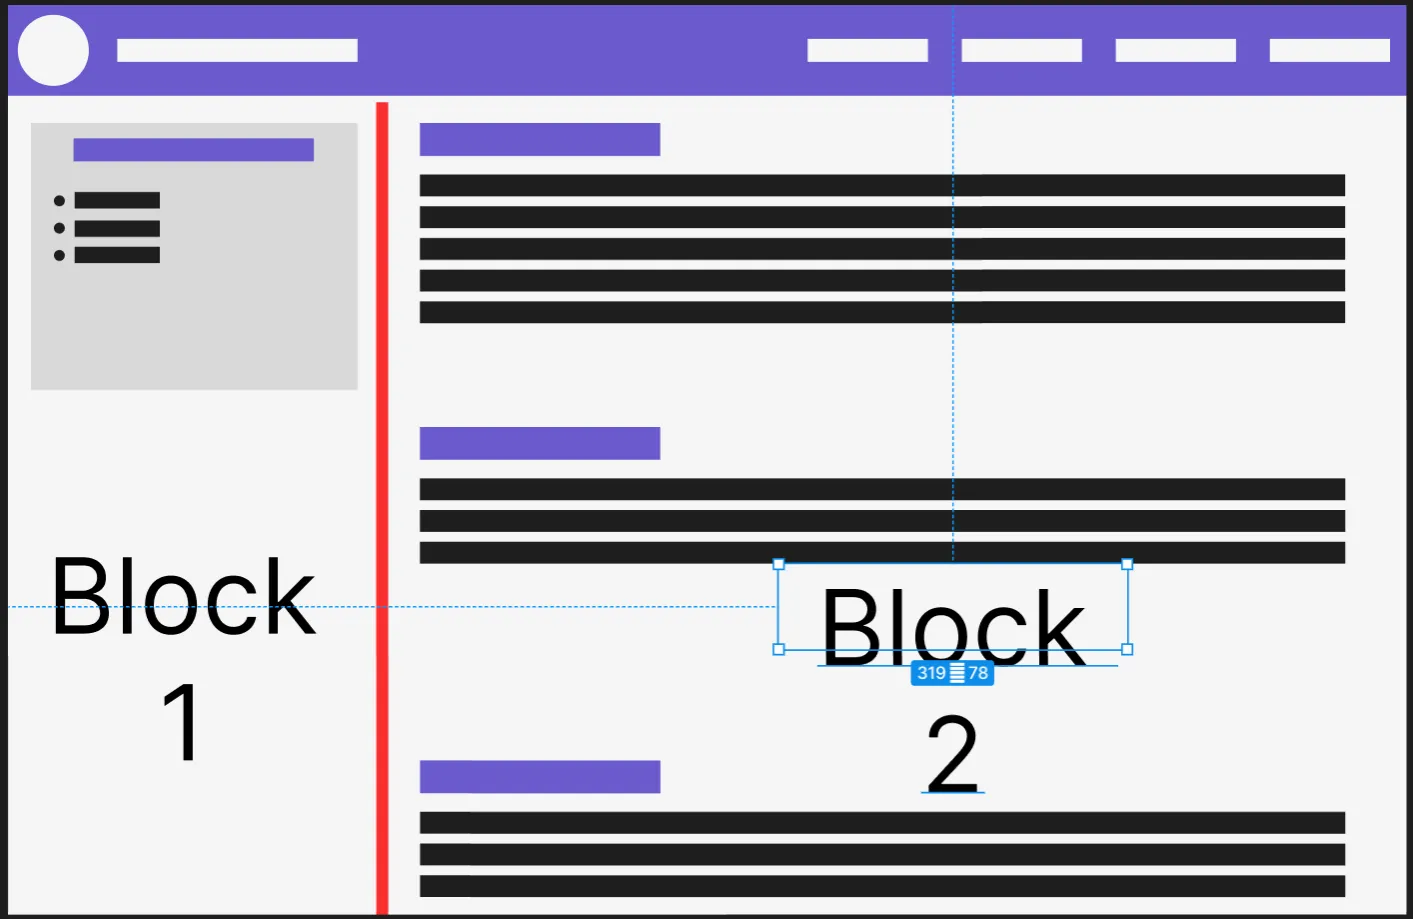
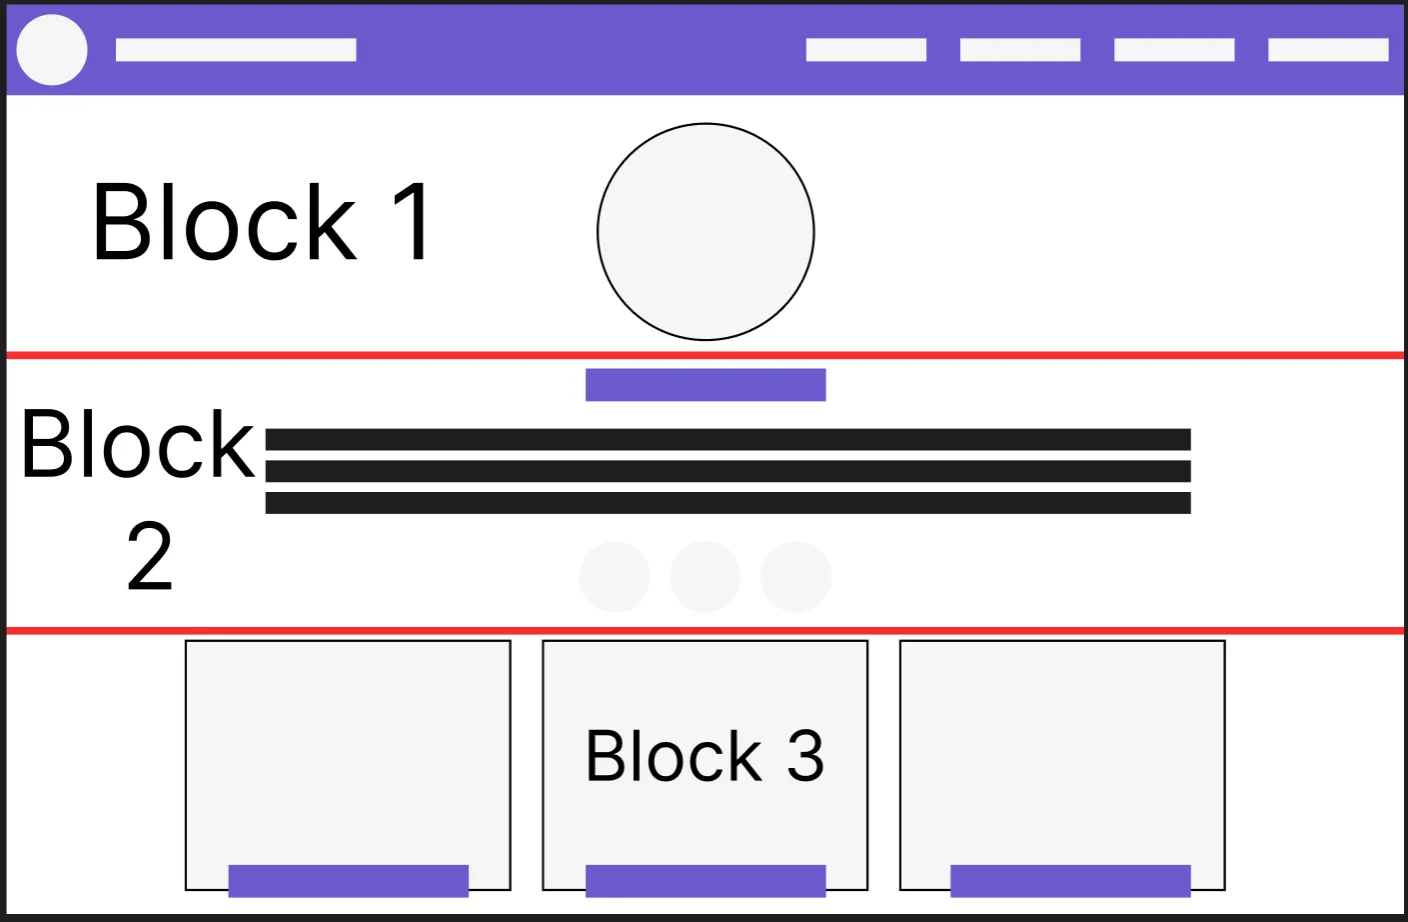
To begin the design process for the about and contact pages, I first started with a mockup I made in Figma.
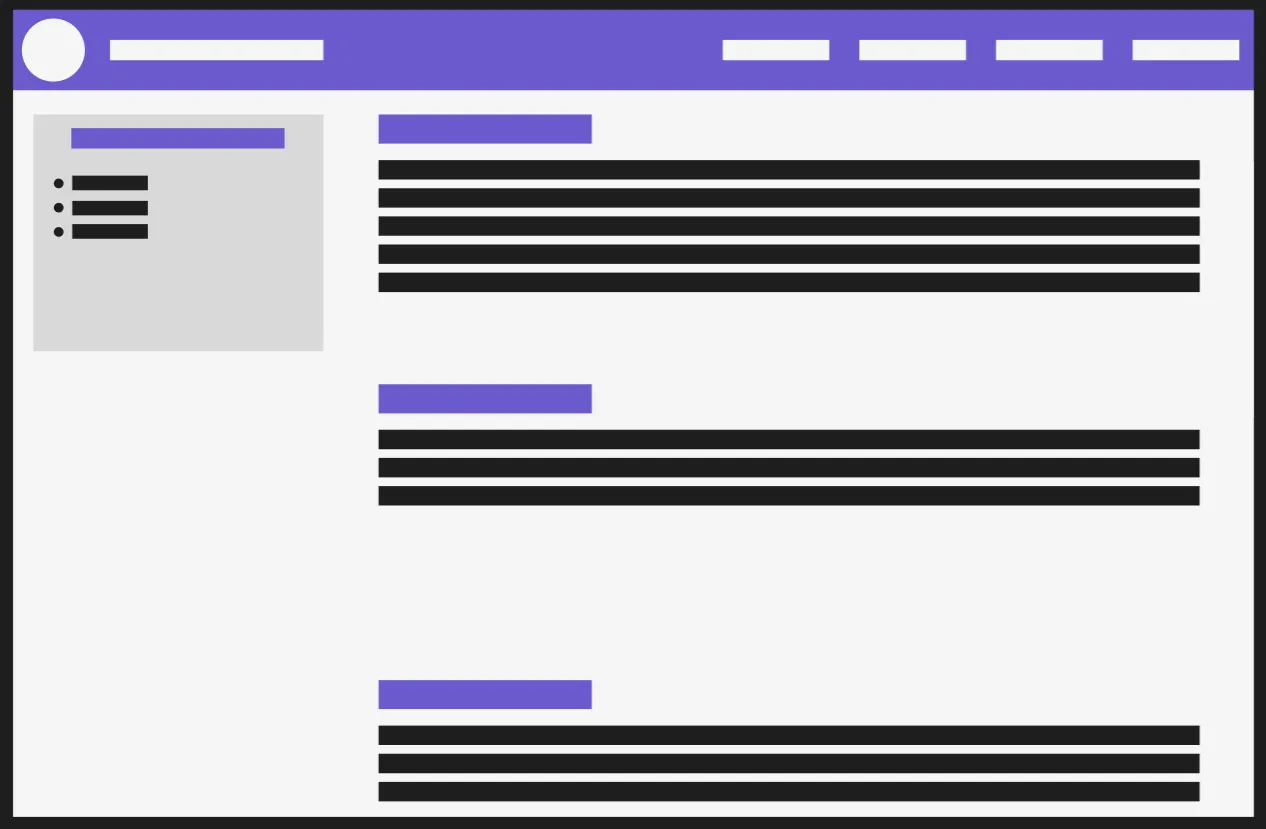

Creating these mockups helped me better organize the elements and decide on the dimensions of each element. I now think of each section of my page as “building blocks”.
For example, the about page blocks look like this.
And the contact page blocks look like this
I also believe that thinking about the pages like this will make it easier for me to go back into the code and refactor or create new components.
After creating the mockup, I then coded the page. In the about page, I learned how to make a sticky sidebar, so that the “Jump to” Menu follows the user as they read through my experience. It will also allow the user to skip to the exact section they are looking for instead of scrolling all of the way around.
On the contact page, I also learned how to add a link to my email that will automatically open their desktop email app. I did this using “mailto:” in the href attribute.
In Progress: Styling the Blog Page
For most of the week, I actually worked on the homepage for my blog. Like the about pages and contact pages, I started with a mockup.
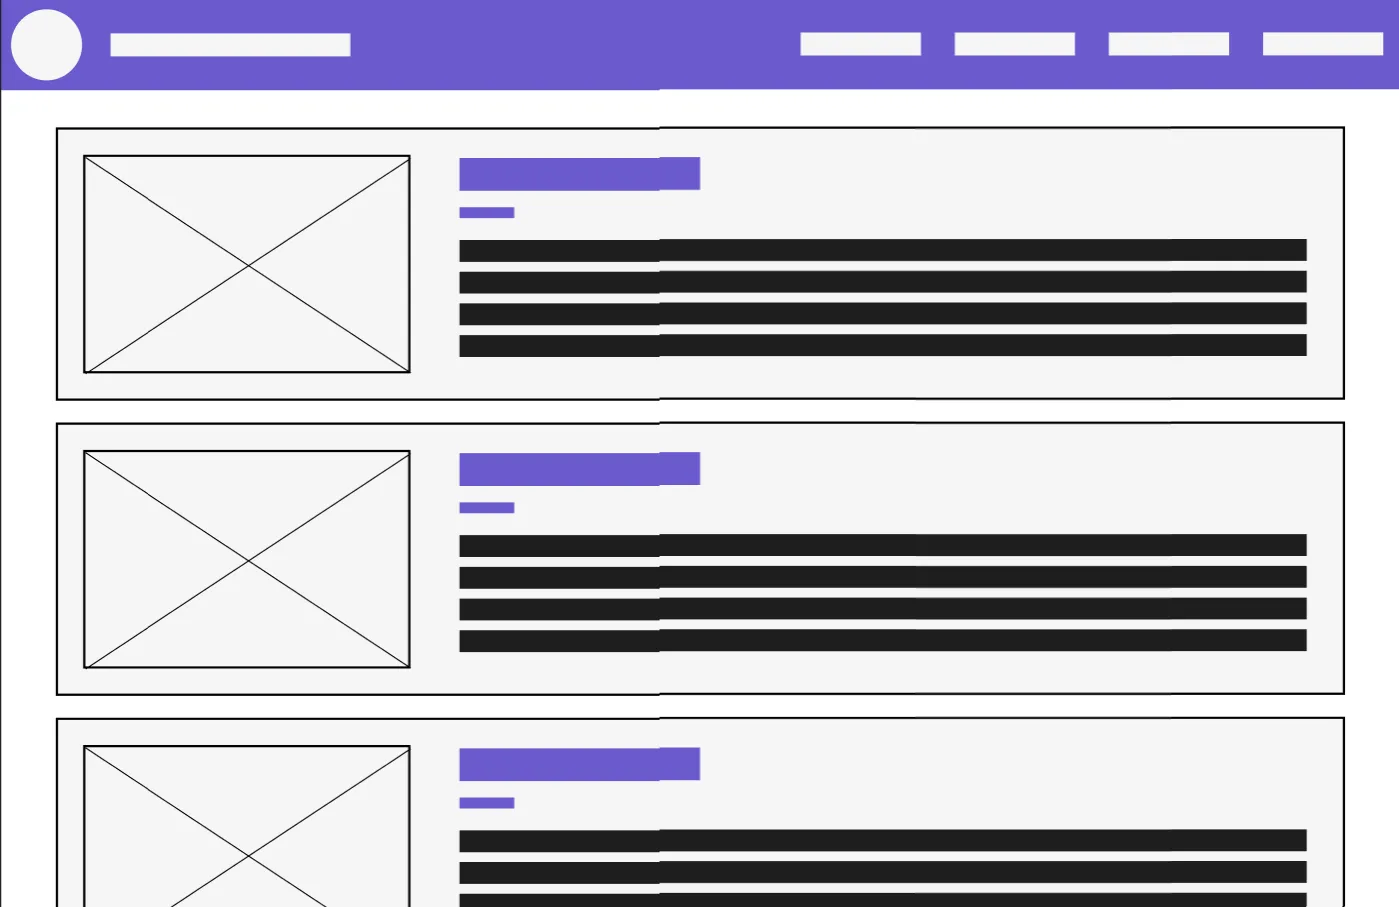
While styling the about and contact pages were pretty easy, I got EXTREMELY stuck on the blog page. Currently, to populate my posts I’m using:
However, I tried to change to using a Content Collection. In theory, this would have allowed me to collect data from the frontmatter from each post and use it to automatically populate elements like the cover image, title, and publish date on the blog homepage. I was able to figure out how to use the collection to populate the publish date and title, but I was unable to figure out how to get the cover image to work.
Instead, I’m using “post.frontmatter.______” to pull out infomation like title and publish date. I cannot pass “post.frontmatter.image.url” in the <Image /> component as it results in an error. I would like to attempt using a content collection again in the future, but I think I need to have a better understanding of JavaScript and TypeScript.
What’s Next
- Style Blog and Portofolio Pages
- Links in content (Tutorials, Guides, Discussion Posts, etc.)
- Proofread + Edit Posts and Pieces
- “You might be interested…” links in portfolio
- Add a preview box for Resource Hub
- Add Photos to Blog Week1 post
- Make pages responsive
- Images in blogposts and portfolio
- Create/Update content
- Visual Design for Educators
- Flesh out the content more
- Finish storyboarding, wireframes, and mockups
- More Resources
- Update Resume to new draft
- Visual Design for Educators
- Refactor Code
- JavaScript + TypeScript Basics
For later:
- Add testimonial
- Learn Figma Shortcuts
- Web Accessibility
- Blog Post Preview Image
- Posts appear in reverse order on blog page
- Search bar for blog
- Search by tag, title, date